PBX 2.1 Seleccione and update a PBX user
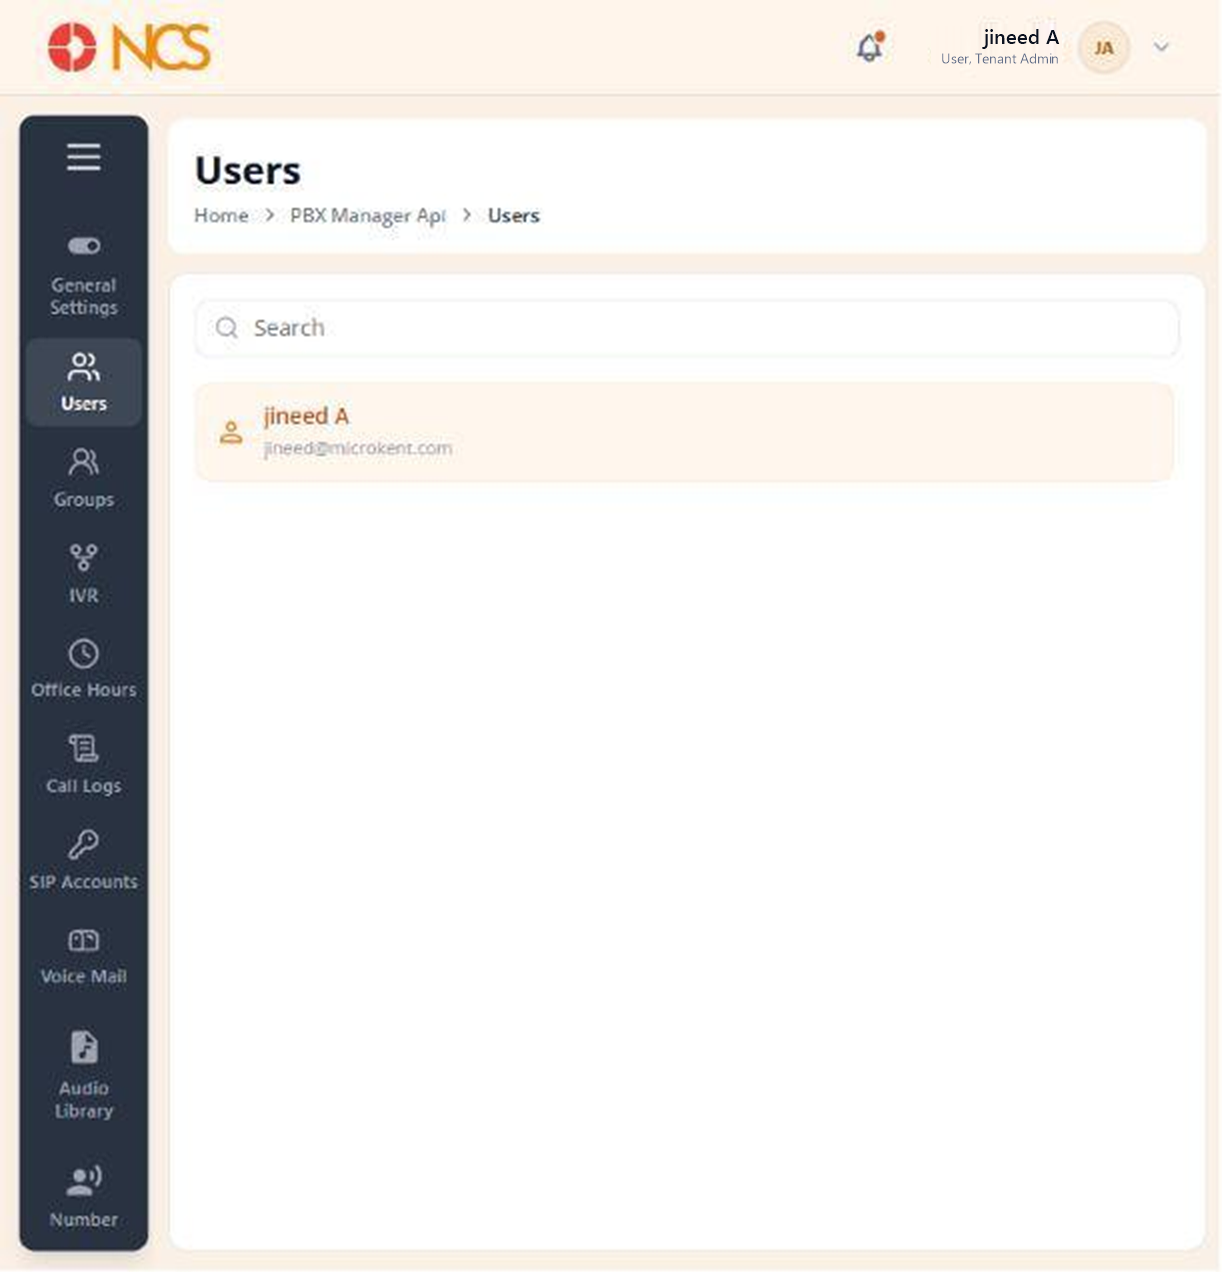
The user list runs down the left of the page, each entry showing the person's name above their email address. The record opens on four tabs: Descripción general, Númeross & Extensions, Auto Provision and Features.
- Open Gestor PBX > Usuarios.
- Use Buscar to locate the user, then select them.
- On the Descripción general tab, under Basic Information ("Manage user profile and account details."), complete the fields:
| Campo | Notes |
|---|---|
| First Nombre | Marked mandatory with an asterisk. |
| Last Nombre | Not marked mandatory. |
| Marked mandatory with an asterisk. |
- Set Estado, described on screen as "Usuario is active and can make/receive calls".
- Seleccione or clear Add to company directory. This is the working route into the company directory (see PBX 1.2).
- Review the assigned Cuentas SIP. The table shows Nombre, Estado and Acciones, with a status such as Registered. Seleccione Add SIP Account to assign another, or Unassign to remove the assignment shown.
- Seleccione Save, or Cancelar to discard.
Estado here is telephony, not portal access. Setting a PBX user's Estado so they cannot call is a different action from disabling their tenant user record (see 2.7 in the Inquilino module draft). A user can hold a live portal login and still be unable to place a call, and the two states are set on two different pages. When someone reports that they can sign in but cannot dial, check this Estado first.
Figure key, PBX user Descripción general
- Ruta de navegación.
- Left navigation, with Usuarios selected.
- Buscar field.
- Usuario list, with the selected user highlighted.
- Descripción general tab, selected.
- Númeross & Extensions tab.
- Auto Provision tab.
- Features tab.
- First Nombre field.
- Last Nombre field.
- Email field, disabled.
- Estado control.
- Add to company directory control.
- Cuentas SIP section, with Add SIP Account and Unassign.
- Cancelar button.
- **Botón Guardar.