PBX 2.1 Sélectionnez and update a PBX user
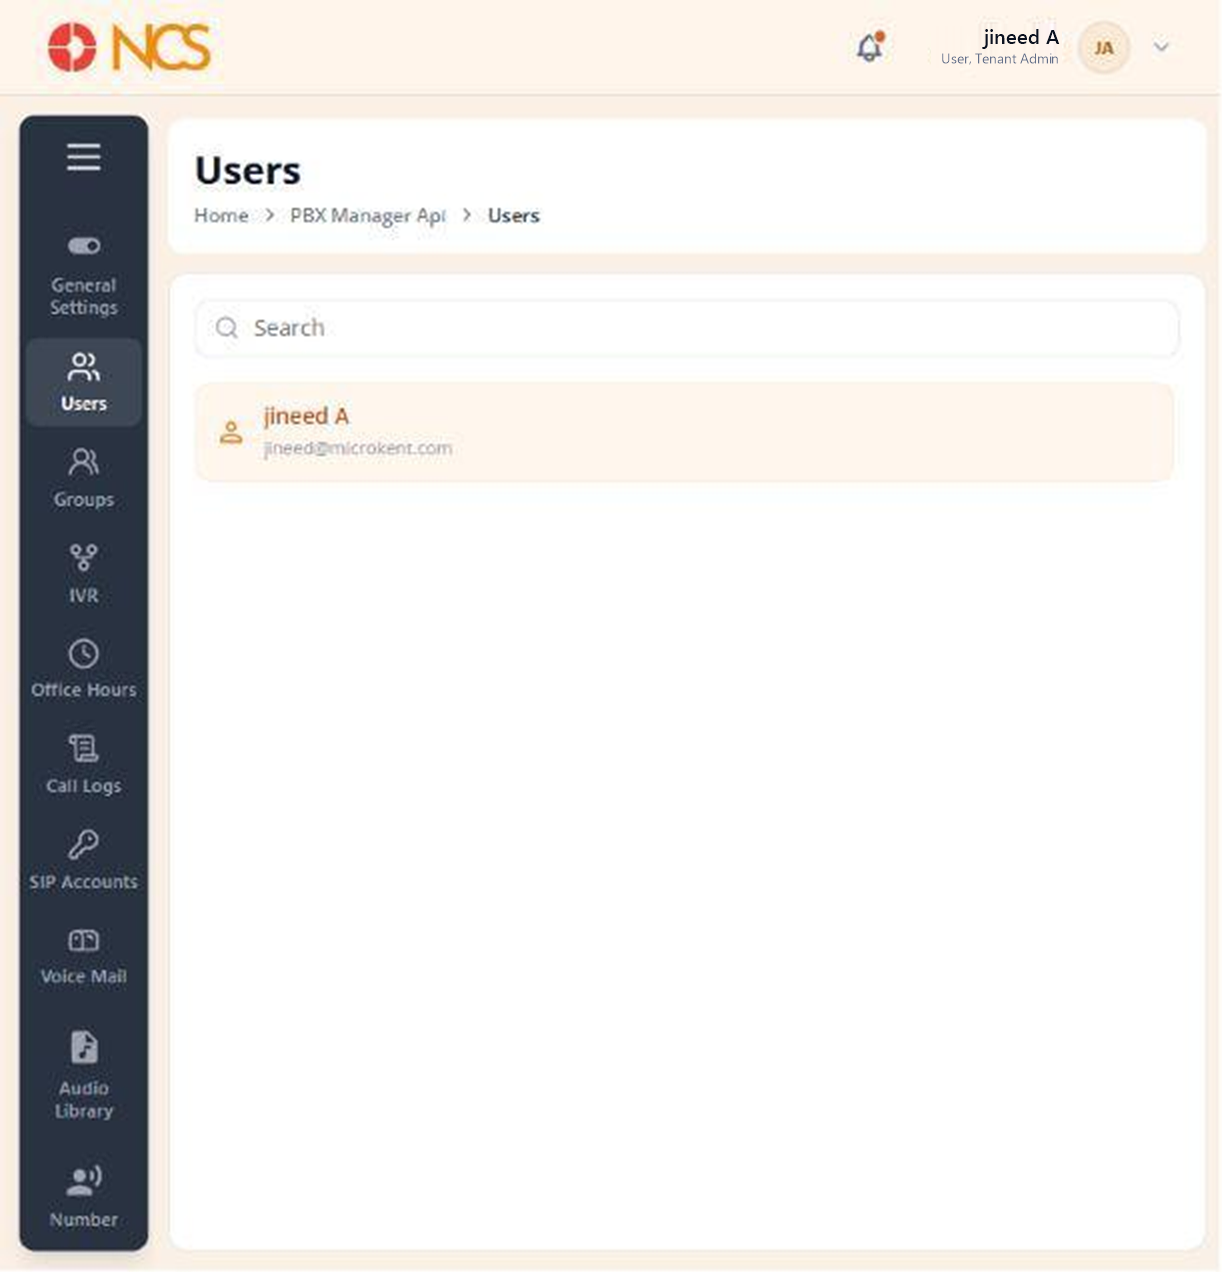
The user list runs down the left of the page, each entry showing the person's name above their email address. The record opens on four tabs: Aperçu, Numéross & Extensions, Auto Provision and Features.
- Open Gestionnaire PBX > Utilisateurs.
- Use Rechercher to locate the user, then select them.
- On the Aperçu tab, under Basic Information ("Manage user profile and account details."), complete the fields:
| Champ | Notes |
|---|---|
| First Nom | Marked mandatory with an asterisk. |
| Last Nom | Not marked mandatory. |
| Marked mandatory with an asterisk. |
- Set Statut, described on screen as "Utilisateur is active and can make/receive calls".
- Sélectionnez or clear Add to company directory. This is the working route into the company directory (see PBX 1.2).
- Review the assigned Comptes SIP. The table shows Nom, Statut and Actions, with a status such as Registered. Sélectionnez Add SIP Account to assign another, or Unassign to remove the assignment shown.
- Sélectionnez Save, or Annuler to discard.
Statut here is telephony, not portal access. Setting a PBX user's Statut so they cannot call is a different action from disabling their tenant user record (see 2.7 in the Locataire module draft). A user can hold a live portal login and still be unable to place a call, and the two states are set on two different pages. When someone reports that they can sign in but cannot dial, check this Statut first.
Figure key, PBX user Aperçu
- Fil d'Ariane.
- Left navigation, with Utilisateurs selected.
- Rechercher field.
- Utilisateur list, with the selected user highlighted.
- Aperçu tab, selected.
- Numéross & Extensions tab.
- Auto Provision tab.
- Features tab.
- First Nom field.
- Last Nom field.
- Email field, disabled.
- Statut control.
- Add to company directory control.
- Comptes SIP section, with Add SIP Account and Unassign.
- Annuler button.
- **Bouton Enregistrer.