Profile
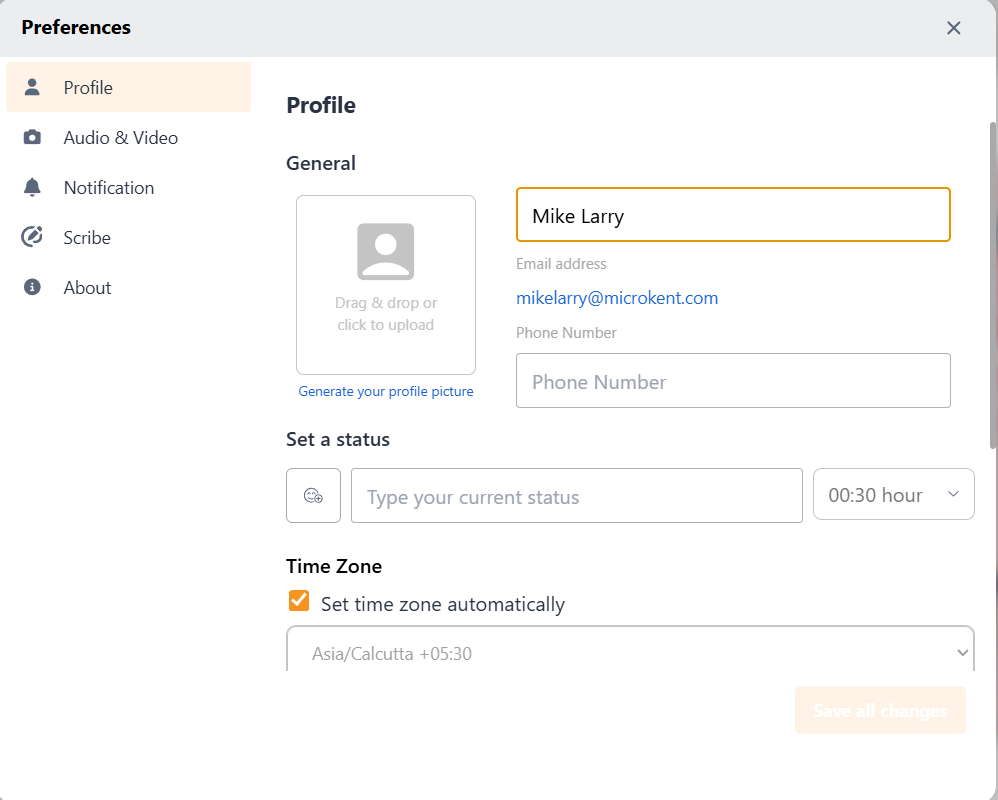
The first tab in the Settings Modal is Profile. Here you can update any profile related details like General, Status, Time Zone and Language.
General
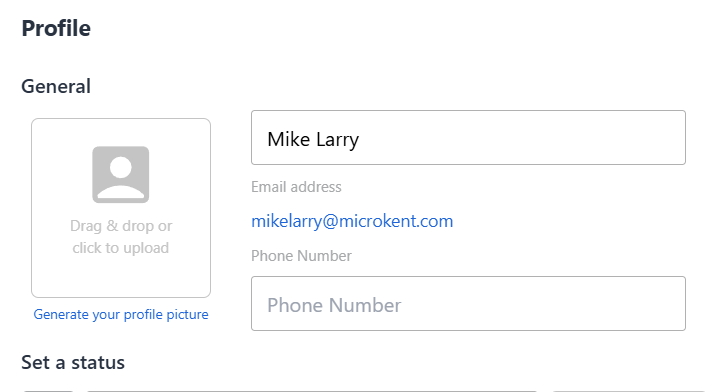
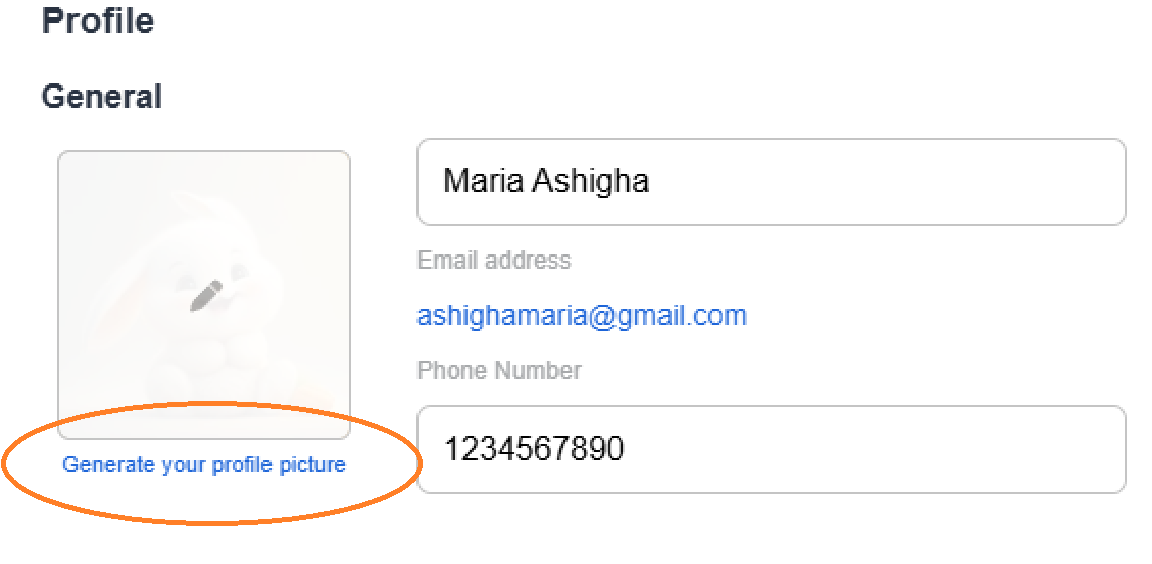
Under the General section of the Profile tab, the general profile details like Display Name, Email Address, Phone Number, and Profile Image will be displayed.
To upload your Profile Image, simply drag and drop the image file into the designated avatar frame or click inside the frame to prompt your system’s File Explorer modal and then search and upload the file. Once you upload a Profile Image (or if you already have a Profile Image previously uploaded), Edit will be visible while hovering the picture.
Click on the Remove button to delete the existing Profile Image. This will show you default Avatar as the first letter of your name for you and others to see.
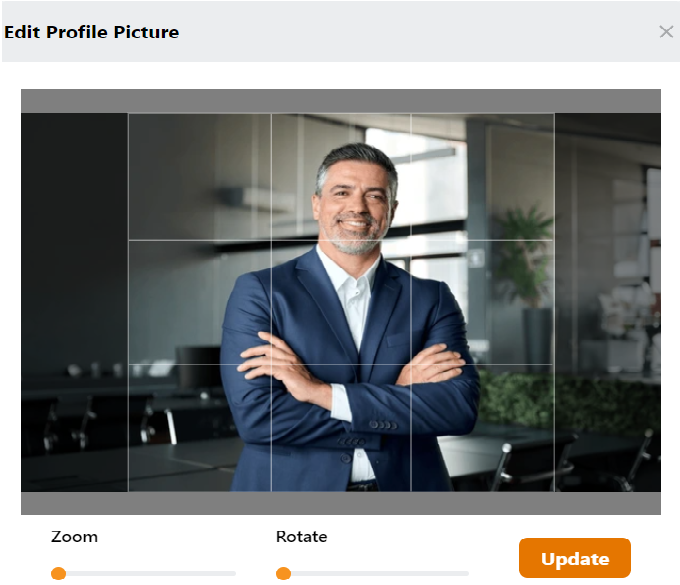
Click on the Change Profile Picture button to open an Edit Profile Picture modal. You can adjust the Zoom and Rotation of the image by moving the respective sliders in this modal. Drag and move the selection area square to highlight the part of the image you want to keep as your Profile Image. Once the desired Profile Image is reached, click on the Update button to save the changes. This picture will be displayed on the avatar icon all across the App.
The Display Name is the name others see on your profile. You can edit this name anytime by clicking in the Display Name text field. Click on the Save all Changes button at the bottom of the modal to save the edited name.
Your Email Address is the registered email with NCS and is not editable. The Phone Number is your contact number and can be updated any time by simply editing the Phone Number field and clicking on the Save all Changes button at the bottom of the modal
AI Profile Picture Generator
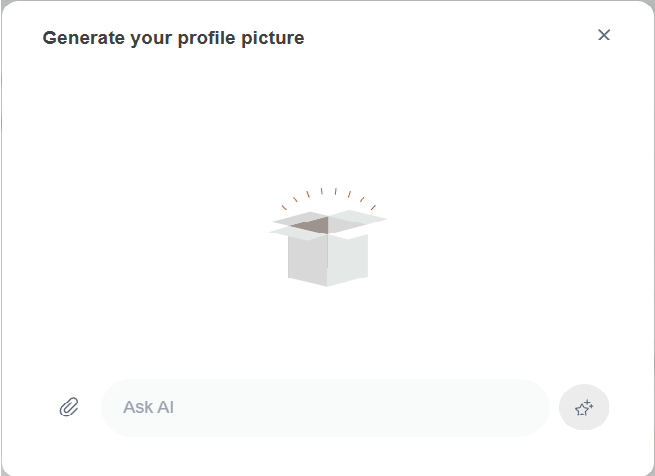
The AI Profile Picture Generator allows you to create a personalized avatar-style profile image using either an uploaded photo or a text-based description. This feature uses artificial intelligence to generate a profile picture that represents you visually while allowing creative expression or privacy.
Key Features:
-
Upload a Photo
You can upload a photo of yourself. The system will analyze your image and generate a similar-looking avatar using AI. This is useful if you want a profile picture that resembles you but has an artistic or stylized look. -
Generate with Text Description
If you prefer not to upload a photo, you can enter a description of how you want your profile picture to look.
Example: “A woman in a formal suit with short black hair and a soft pink background.”
The AI will generate a profile image based on your description.
After Generation:
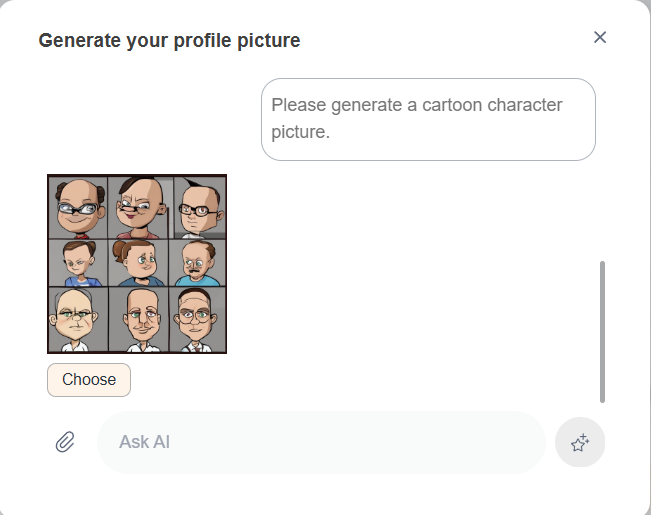
- A preview of your generated profile picture will be displayed.
- You can:
- Set the image as your profile picture
- Regenerate the image with the same or a new prompt
- Cancel the process if you change your mind
Set a Status
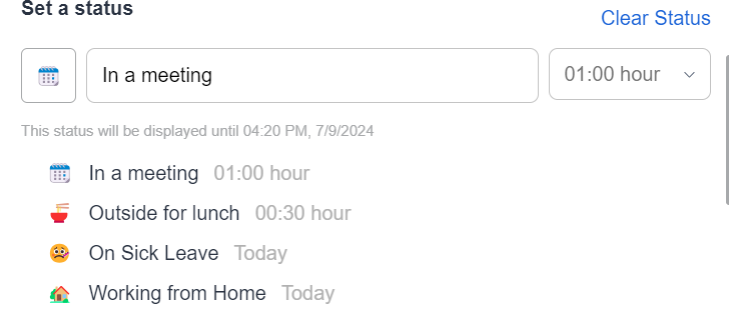
Following the General section in the Settings modal is Set a Status. Here you can set your user-defined status using emojis, texts and for a specific time period.
Click on the Emoji icon to display the Emoji dropdown and choose from a variety of emojis.
In the Text input field, you can type down a custom status or you can update statuses from the status list below, which will be displayed on your profile. The list contains system preset statuses such as In a Meeting, Outside for Lunch, On Sick Leave and Working from Home; as well as any previously set statuses.
The Time Period dropdown allows you to set the duration of your status display of the time until which the status will be displayed to others. Choose from preset options like 30 minutes, 1 hour, 2 hours, 5 hours Today, or set a custom time by inputting a date in the Until field.
After updating / changing your status, click on the Update icon in the Set a Status section to save the changes. Alternatively, you can click on the Save all Changes button at the bottom of the modal as well to update the changes.
Once the status is saved, a help note will appear below the Set a Status field, stating "This status will be displayed until 00:00 PM, DD/MM/YY", indicating until what time and which day this set status will be displayed on your profile.
If you want to remove the status, click on the Clear Status button at the top right of the Set a Status section.
Once the status is updated, it will appear in the list of custom statuses below the preset statuses.. While customized statuses can be deleted using the Delete icon, preset ones cannot be removed.
Time Zone
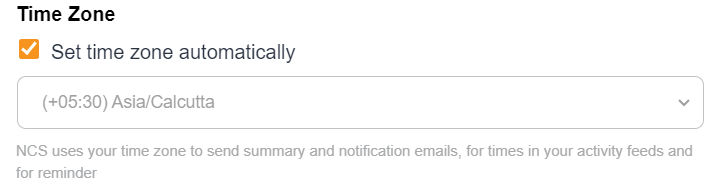
Time Zone selection is crucial for various functionalities within NCS, including setting your working hours, notifications, meeting reminders and many more. Click on the Time Zone dropdown menu in the Profile tab of Settings modal to view the list of all time zones. Select your time zone from the list and click on the Save all Changes button at the bottom of the modal.
Above the Time Zone dropdown, you'll find a checkbox labeled Set Your Time Zone Automatically. Enabling this option ensures that your time zone will be synchronized with your local time, eliminating the need for manual adjustments each time you log in. If you prefer manual control, leave this option unchecked and select your time zone manually from the dropdown menu upon each login.
Languages
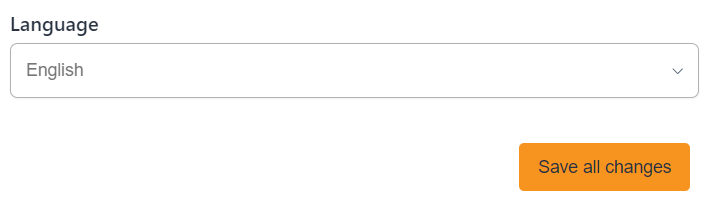
NCS is multilingual. You can change the app's language to your preferred one. At the bottom of the Profile tab, the Languages section allows you to set the language of NCS. Select your preferred language from the dropdown list. Click on the Save all Changes button to update and save any change in the preferred language.
After making any changes in the Profile tab, you can save them all at once by clicking the Save All Changes located at the bottom right of the Profile page. This ensures that all your updates are securely saved.